Replacing a Headphone Cable Instead of the Headphones
A pair of headphones where one side has gone quiet, or where audio cuts in and out when you move, is almost never a failed driver. It is a cable that has flexed a few thousand times too many at a stress point, and that is a repairable fault.
Diagnosing before you open anything
Plug the headphones into a different source. If the fault follows the headphones, it is in the headphones. If it stays with the source, the socket on the device is worn — a separate and also repairable problem.
Play audio and flex the cable slowly along its length, paying attention at the plug, at the point where it enters the earcup, and at the Y-split. A fault that appears at a specific point under flexing is a broken conductor at that point.
If the sound is clean and stable in every position but one channel is silent, the break is likely a full disconnection rather than an intermittent.
The three places cables fail
Immediately behind the plug is the most common, because that is where the cable is bent hardest and most often. The strain relief is designed to spread that load and eventually stops doing so.
The entry into the earcup is second, for the same reason on a shorter lever. The Y-split is third and is usually a manufacturing weak point rather than user wear.
In-line remote modules are a fourth, less common location, and they are the hardest to repair cleanly.
Detachable cables: the easy case
Many over-ear headphones use a detachable cable with a 2.5mm or 3.5mm socket at the cup. If yours does, the entire repair is buying a replacement cable, and no soldering is involved.
Check the connector type and, on some models, whether the plug needs a specific notch or length to seat fully. Photographs of the socket are usually enough to identify it.
This is a reason to prefer detachable-cable models when buying: it converts the most common failure into a five-dollar consumable.
Fixed cables: what the repair involves
Opening an earcup is usually a matter of removing the earpad, which is often just a friction fit, and then two or three small screws. A plastic spudger separates clipped housings without marking them.
Inside you will find two or four fine wires soldered to the driver terminals. These are typically enamelled, and the enamel must be removed or burned off before solder will take. That is the step beginners miss.
Cut back past the damaged section, strip, tin, and resolder. The joints are small and the wire is fragile, so a temperature-controlled iron at a modest setting is much easier than a hot uncontrolled one.
Enamelled wire and why solder will not stick
Headphone wire is usually litz or enamelled copper, with an insulating coating that looks like bare metal. Solder will bead and refuse to wet until that coating is removed.
The practical method is to tin the wire by holding it in a blob of molten solder on the tip for a few seconds, which burns the enamel off and tins it in one operation. Adding flux helps considerably.
If solder is not taking after several seconds, the enamel is still there. More heat on the joint is not the answer; more time in the solder blob is.
Strain relief on the repair
A repair that ignores strain relief will fail in the same place again. Tie a simple knot in the cable inside the housing so that any pull is taken by the knot against the housing rather than by the solder joints.
Where the original strain relief has perished, a short length of heatshrink over the cable at the exit point restores most of the function.
This step takes thirty seconds and roughly doubles the life of the repair.
When it is not worth repairing
If the driver itself is damaged — a rattling, distorted or completely dead channel with a known-good cable — replacement drivers are rarely available for consumer models and the repair becomes uneconomic.
Crushed or delaminated earcups, cracked headband arms and failed internal battery packs in wireless models are similarly difficult. Batteries in particular are often glued and pouch-type, and are not a beginner repair.
For a wired pair with a cable fault, though, the repair is nearly always worth doing.
Preventing the next failure
Do not wrap the cable tightly around the headphones for storage; that puts a permanent bend exactly where the cable is weakest. Loop it loosely instead, or use the case.
Unplug by pulling the plug, never the cable. It sounds obvious and it is the origin of most plug-end failures.
Keep them out of a bag bottom where a laptop can crush the cup and pinch the cable.
Where to go next
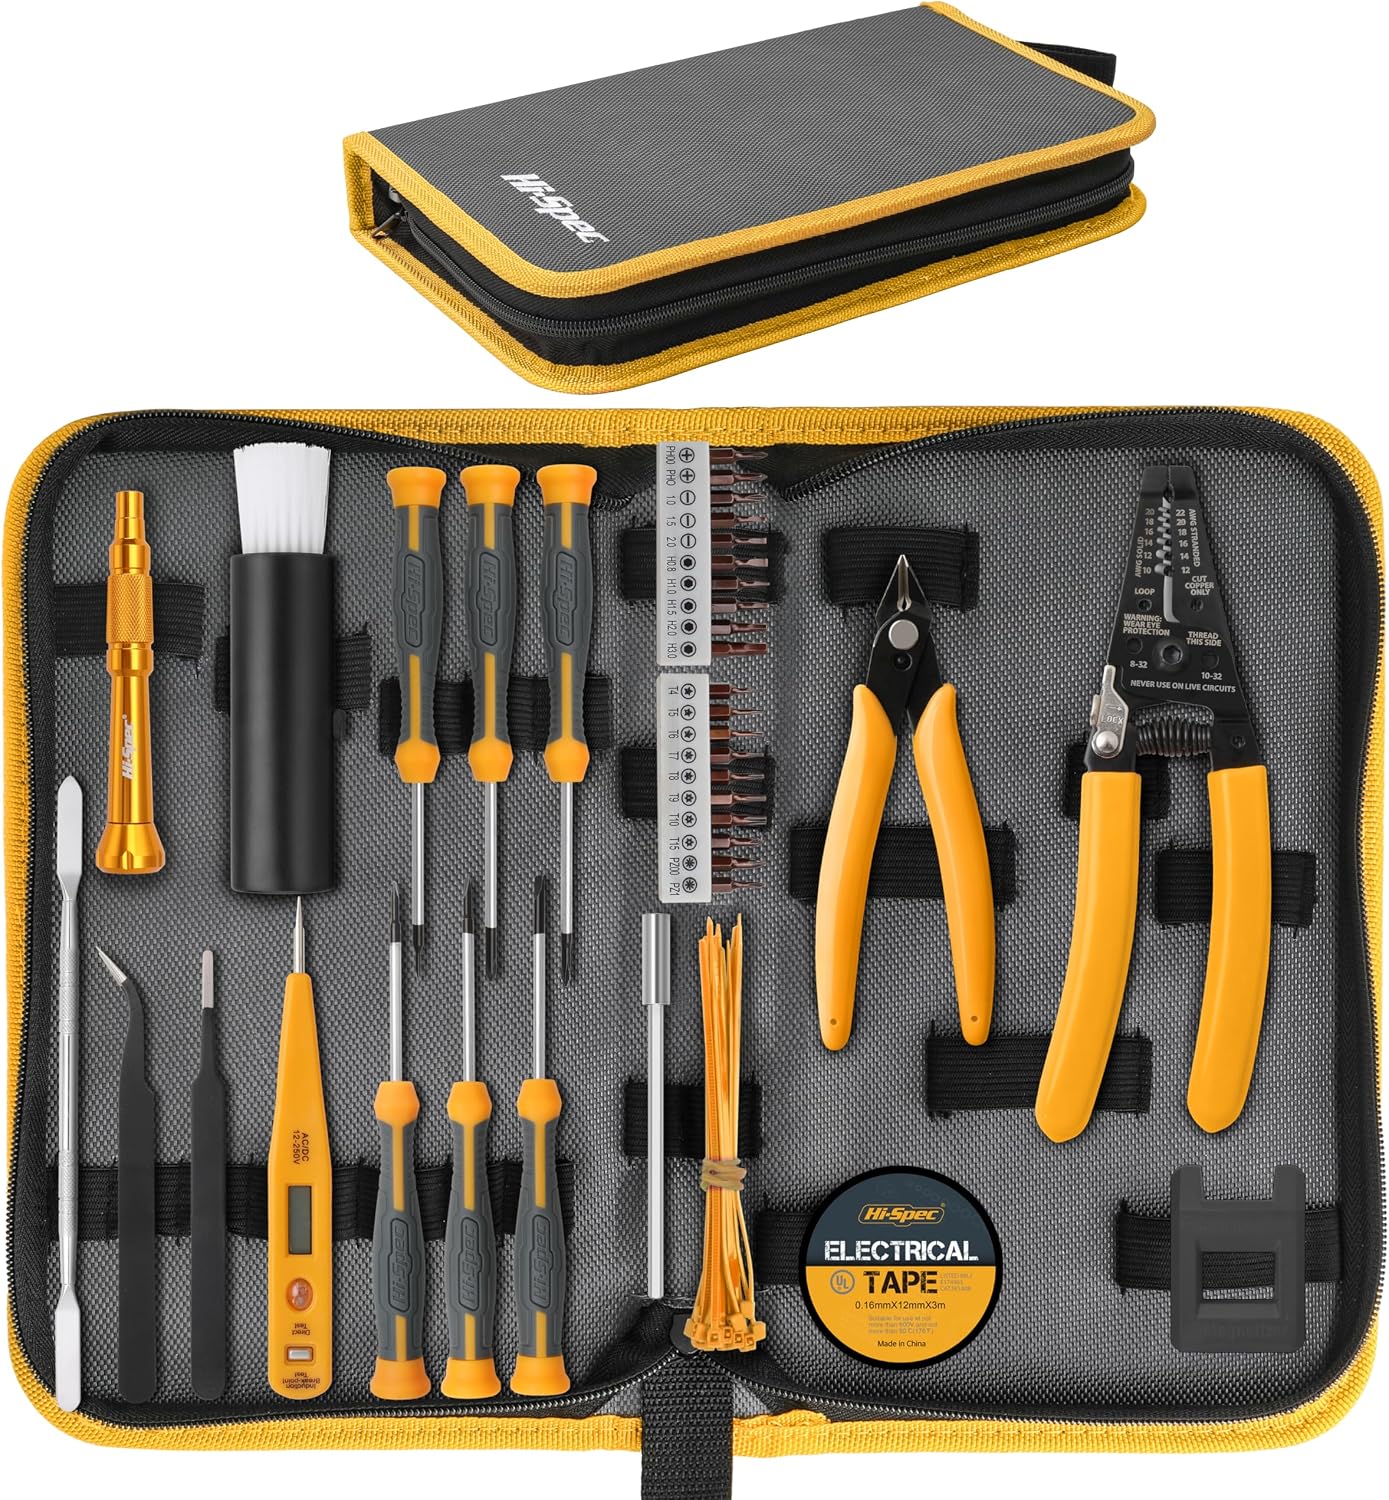
Opening tool kits, solder wire and repair consumables are in Repair Tools & Supplies. We sell the parts; we do not run a repair bench.
Shop Repair Tools & Supplies
Related articles
- Active Noise Cancelling Explained Before You Fly — What ANC removes, what it cannot, and why a cabin is the ideal environment for it. How to choose a pair for long flights.
- Your Laptop Has No Headphone Jack — What You Need — Passive versus DAC adapters, USB-C to 3.5mm, and why a cheap dongle sometimes produces silence. How to buy the right one.
- Choosing a USB Flash Drive That Is Actually Fast — Read speed, write speed, USB generation and why a large cheap drive can be slower than a small one. What to check.
- Earpads, Cables and the Parts That Wear Out First — Headphones rarely fail all at once. The pads, the cable and the headband go in a predictable order, and each is cheap to address.
- What a Power Strip Should and Should Not Be Used For — Daisy-chaining, heating appliances and hidden loads. The practical safety rules for power strips in a small apartment.